
When preparing for a new dryer setup, accurate measurement of your vent hose plays a critical role in ensuring efficiency, safety, and durability. A properly measured hose allows hot air and moisture to exhaust through the vent duct without obstruction, preventing lint buildup and overheating. Whether you’re handling dryer vent hose replacement, planning a new duct installation, or learning how to install dryer vent hose systems properly, precision helps your dryer perform efficiently while maintaining indoor air quality. A well-fitted system reduces drying time, energy use, and costly repairs in the long run (Dryer Vent Hose Installation).
Why Does Accurate Dryer Vent Hose Measurement Matter?
Measuring your dryer vent hose accurately matters because even minor fitting issues can affect the airflow and increase risks of fire or mold. The dryer exhaust duct must match the proper hose size typically four inches in diameter to ensure smooth venting. If the hose is too long or too flexible, airflow slows down, causing your clothes to take longer to dry. Similarly, a loose connection between the vent pipe and the wall outlet can allow hot air and lint to leak inside your house. Proper installation ensures the venting system can handle the air pressure from electric or gas dryers safely. Professionals recommend using rigid or semi-rigid aluminum tubes with quality vent clamps, connectors, and foil tape to secure every joint tightly.
What Common Problems Occur From Incorrect Dryer Vent Setup?
Incorrect dryer vent setup often leads to airflow blockage, overheating, and excess lint accumulation. Homeowners sometimes use cheap or flexible plastic hoses that sag and trap lint, reducing efficiency. Poor alignment between the dryer outlet and the wall vent can also cause leaks, while long venting paths through the roof or exterior wall increase back pressure. A mismeasured or loosely fitted vent pipe can cause warm air to escape inside, raising humidity levels in your laundry area. Another common issue is the use of improper venting tools or weak clamps that loosen over time. Whether you’re working near the wall, ceiling, or floor, the vent connection must remain airtight. Using proper installation kits and quality materials from trusted stores like Lowe’s helps maintain the long-term reliability of your system.
What Are the Key Benefits of Proper Dryer Vent Hose Measurement?
Measuring your vent hose correctly ensures your dryer operates at its best. A proper fit allows exhaust air to flow smoothly through the duct and out the exterior vent hood, preventing backflow and reducing fire risk. It also keeps your laundry area cooler, as heat escapes efficiently through the venting system. Additionally, accurate measurement reduces energy costs by shortening drying time and protecting your dryer’s motor. For homeowners who need a dryer vent hose replacement, measuring the distance between the dryer and the vent outlet factoring in bends, turns, and obstacles ensures the right hose length and material choice. Using high-quality rigid pipes or flexible ducts, combined with durable connectors and foil tape, provides secure, professional-grade installation. Proper measurement and setup also simplify future repairs, replacements, or cleaning tasks.
What Is the Cost Breakdown for Measuring and Installing a Dryer Vent Hose?
|
Service Type |
Average Cost (USD) |
Description |
|
Basic Measurement & Inspection |
$40 – $80 |
Includes duct inspection, length estimation, and wall vent evaluation |
|
Dryer Vent Hose Replacement |
$100 – $250 |
Includes labor, clamps, connectors, and flexible hose installation |
|
Dryer Vent Pipe Installation |
$200 – $400 |
For rigid ducts routed through walls, roofs, or long-distance venting |
|
Dryer Vent Setup (New Installation) |
$300 – $600 |
Full system setup for new laundry spaces or relocated dryers |
|
DIY Measurement Tools |
$10 – $40 |
Measuring tape, clamps, vent kits, and foil sealing tape |
Disclaimer: Prices vary by material type, house layout, vent length, and whether the system connects to a gas or electric dryer. Always choose quality tools and materials to ensure long-term performance.
What Key Features Should You Consider When Measuring for a Dryer Vent Hose?
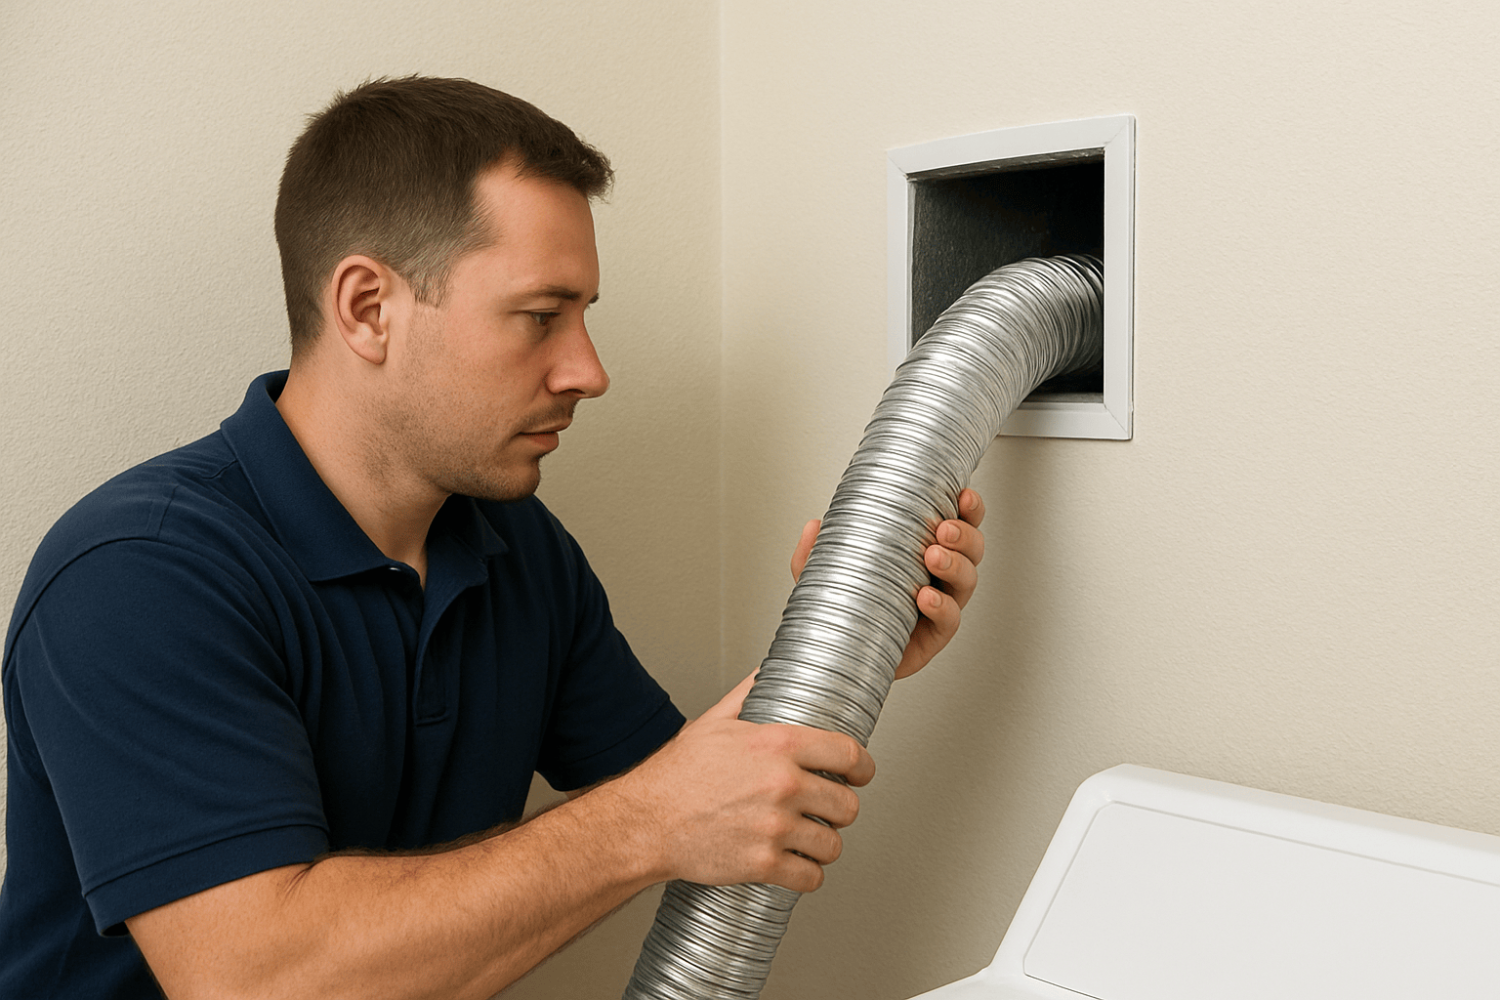
When planning your installation, first determine the exact path your vent duct will follow from the dryer outlet to the exterior vent hood or roof vent. Measure the total distance, including every bend, and choose the shortest route possible to minimize airflow resistance. Use a rigid or semi-rigid metal tube whenever possible, as they resist kinking and improve exhaust flow. The vent pipe’s size, usually four inches in diameter, must match the dryer outlet and wall vent opening. If the dryer is close to the wall, you may need an elbow connector or hook-style adapter to connect properly. Use foil tape to seal joints and avoid air leaks. Flexible ducts are useful for tight spaces, but they require proper support to prevent sagging. Installing a quality vent cover outside your house keeps debris and pests from entering. For best results, use professional tools like a vent cleaning brush and quality clamps to secure the hose connection.
“Proper vent hose measurement and quality installation tools are essential for efficient airflow and long-term safety,”
FAQS
- How often should I check or measure my dryer vent hose?
You should inspect your hose annually and measure if you move your dryer, change its position, or notice reduced airflow. Regular maintenance prevents overheating and lint blockages. - Can I measure and replace my vent hose myself?
Yes, homeowners can measure and replace their vent hose using basic tools such as measuring tape, vent clamps, and foil tape. However, for complex duct paths through walls or roofs, professional help ensures safety and compliance. - What hose material is best for installation?
Rigid or semi-rigid aluminum ducts provide the best airflow and durability. Flexible hoses work well for short distances but should be kept straight to avoid lint buildup. - What tools are needed for measuring and installation?
A measuring tape, screwdriver, vent kit, foil tape, and vent clamps are essential. A vent cleaning brush helps maintain airflow after installation. - What signs indicate it’s time for dryer vent hose replacement?
If clothes take longer to dry, the dryer feels excessively hot, or there’s visible lint around the vent outlet, it’s time to replace the hose and check all connections.
Conclusion
Proper measuring for a new dryer vent hose is one of the most important steps in ensuring safe and efficient dryer performance. By understanding the path of the vent pipe, measuring the correct hose length, and using quality materials, homeowners can achieve optimal airflow and safety. Whether you are handling a dryer vent hose replacement, installing a new duct system, or learning how to install dryer vent hose assemblies, accuracy and quality materials are essential. Correct hose size, tight connections, and proper exterior venting reduce energy waste and fire hazards. Always use reliable tools, high-quality venting materials, and professional assistance if needed to ensure your dryer operates safely and efficiently for years to come.
Read More: dryer vent hose replacement